


So I was reading Chris Schwarz's blog; 'lost art press', and found a set of images which totally changed my ideas for building a workbench.
Previously, my design had been a split-top, huge, heavy design; I was trying desperately to think of ways I could fit it into the place I rent, let alone have space to build it.
After reading Schwarz's book 'Workbenches: From design and theory to construction and use', I knew that the width of a bench became useless if it was too wide; you couldn't reach across it, so there was no point to the extra width apart from weight. The split-top design was intended to allow me to clamp things to more of the surface in order to get around this issue, but I was thinking the wrong way.
On the blog, there is a set of images of a bench which, albeit poorly made and badly restored, had something I hadn't seen before in a bench: An extremely narrow top. The length was normal (6 or 7 feet), but the top was maybe just over a foot wide. I realised that such a bench would solve my space issues and not really suffer much compared to a 'standard' bench: any boards which won't fit on it are going to be big enough for me to sit on and plane on the floor anyway.
So I warmed up google sketchup and started playing with designs. The current one is pretty blocky and chunky, but I like that; it looks solid. It's too tall at the moment because I need to calculate the ideal height to fit the wooden planes I use, but other than that the design does everything I want it to.
I've already got the metalwork for the leg vise; I bought it in Germany from Dieter Schmidt's fine tools in Berlin. The material for the top is 1.5" thick laminated walnut which I got on sale a while ago from a kitchen supply store; I'll be layering two or three of the four slabs I have to make the top (probably two, thinking about it). This will result in a bench about 6ft long and just over 1ft wide.
The frame is to be made from 3.5" thick sapele timbers which I purchased when on sale at B&Q (they were about £6 each then, but now they're £20ish), and will be composed of the two side assemblies (mortised and tenoned, glued up) and two long stretchers attached by tusk tenons so that I can knock the thing down (tusks not pictured). The top will be attached via bullet dowels set into the top of the frame (indexing to holes in the underneath of the top), held in place by gravity (it'll be heavy enough).
The whole thing is designed to be tough, heavy enough not to rack or shift and yet knock-down, so that when I move to a new place it'll be easier to shift. It'll handle heavy duty workholding tasks and will make my work much easier to carry out than with the small planing board I'm using right now. I plan to use veritas wonder-dogs in the dogholes, as well as hand-forged holdfasts made by a blacksmith friend of mine; the wonder-dogs mean I won't need an end vise. I also plan on building a chain-tension system into the leg vise like the one made by ther 'Ancora yacht service', though I'm trying to work out if steel cable on rollers would work instead of bike chain on gears.
Let me know what you think of the design; it needs tweaking but I'm pretty happy with this, having knocked it up in a couple of hours.
[img]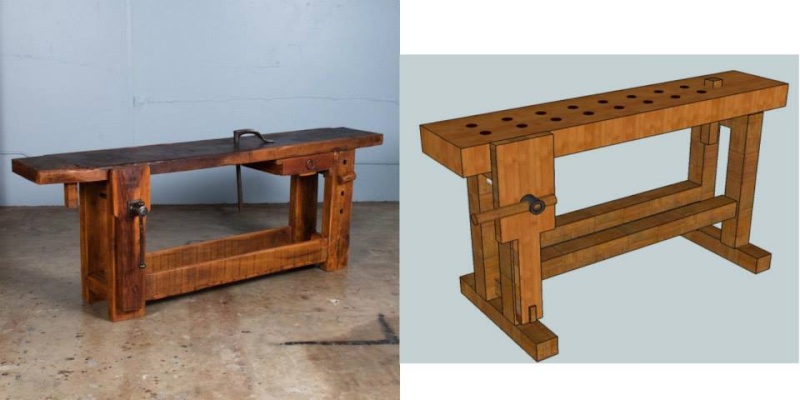 [/img]
The bench design alongside the blog image.
[img]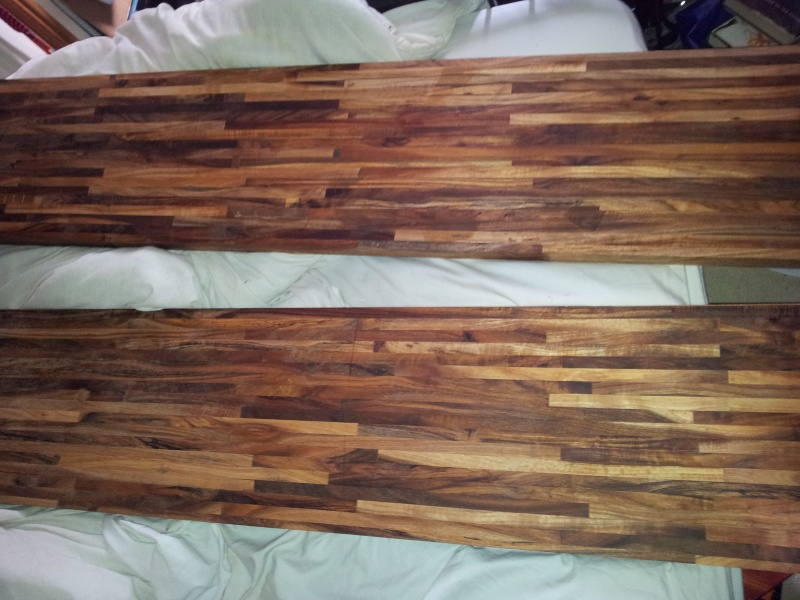 [/img]
The walnut I'll be using for the top.
Previously, my design had been a split-top, huge, heavy design; I was trying desperately to think of ways I could fit it into the place I rent, let alone have space to build it.
After reading Schwarz's book 'Workbenches: From design and theory to construction and use', I knew that the width of a bench became useless if it was too wide; you couldn't reach across it, so there was no point to the extra width apart from weight. The split-top design was intended to allow me to clamp things to more of the surface in order to get around this issue, but I was thinking the wrong way.
On the blog, there is a set of images of a bench which, albeit poorly made and badly restored, had something I hadn't seen before in a bench: An extremely narrow top. The length was normal (6 or 7 feet), but the top was maybe just over a foot wide. I realised that such a bench would solve my space issues and not really suffer much compared to a 'standard' bench: any boards which won't fit on it are going to be big enough for me to sit on and plane on the floor anyway.
So I warmed up google sketchup and started playing with designs. The current one is pretty blocky and chunky, but I like that; it looks solid. It's too tall at the moment because I need to calculate the ideal height to fit the wooden planes I use, but other than that the design does everything I want it to.
I've already got the metalwork for the leg vise; I bought it in Germany from Dieter Schmidt's fine tools in Berlin. The material for the top is 1.5" thick laminated walnut which I got on sale a while ago from a kitchen supply store; I'll be layering two or three of the four slabs I have to make the top (probably two, thinking about it). This will result in a bench about 6ft long and just over 1ft wide.
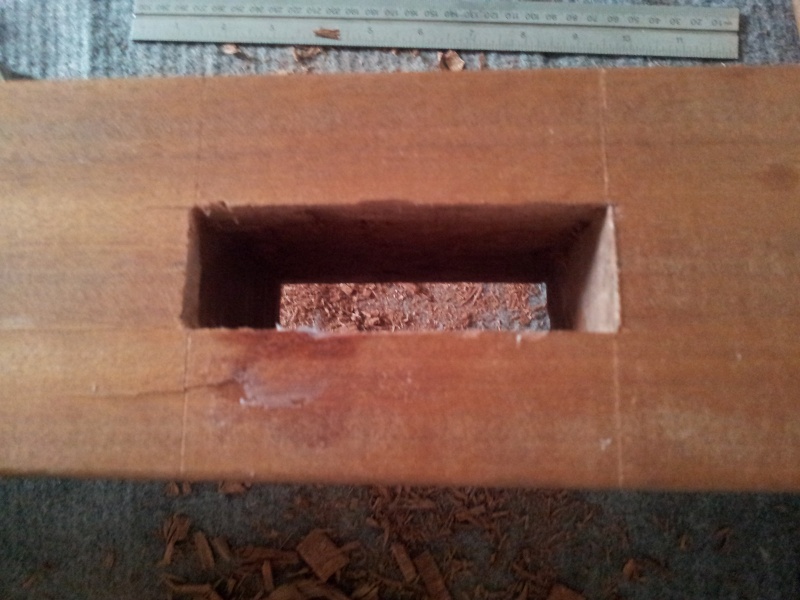
The frame is to be made from 3.5" thick sapele timbers which I purchased when on sale at B&Q (they were about £6 each then, but now they're £20ish), and will be composed of the two side assemblies (mortised and tenoned, glued up) and two long stretchers attached by tusk tenons so that I can knock the thing down (tusks not pictured). The top will be attached via bullet dowels set into the top of the frame (indexing to holes in the underneath of the top), held in place by gravity (it'll be heavy enough).
The whole thing is designed to be tough, heavy enough not to rack or shift and yet knock-down, so that when I move to a new place it'll be easier to shift. It'll handle heavy duty workholding tasks and will make my work much easier to carry out than with the small planing board I'm using right now. I plan to use veritas wonder-dogs in the dogholes, as well as hand-forged holdfasts made by a blacksmith friend of mine; the wonder-dogs mean I won't need an end vise. I also plan on building a chain-tension system into the leg vise like the one made by ther 'Ancora yacht service', though I'm trying to work out if steel cable on rollers would work instead of bike chain on gears.
Let me know what you think of the design; it needs tweaking but I'm pretty happy with this, having knocked it up in a couple of hours.
[img]
[/img]The bench design alongside the blog image.
[img]
[/img]The walnut I'll be using for the top.


 " />
" /> " />
" /> " />
" /> [/img][img]
 [/img]
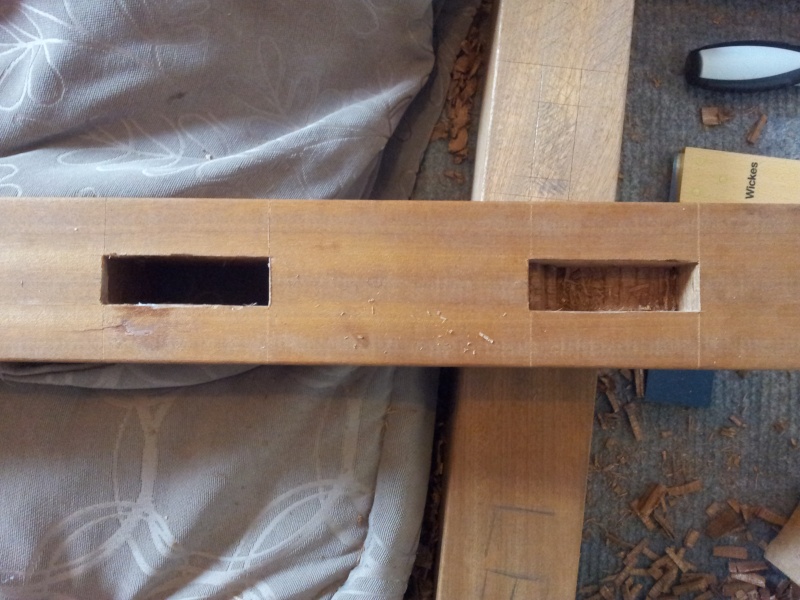 " />
" /> " />
" />


 Private messages