Nice job! Bet that cost you an hour or two
Yeah, right ) About 2 weeks - only this upgrade, and about a
year - the whole project. I started with no knowlegde or experience in building crossbows, with practically no tools, that I started to buy in process, and its only a hobby, so it took a while...
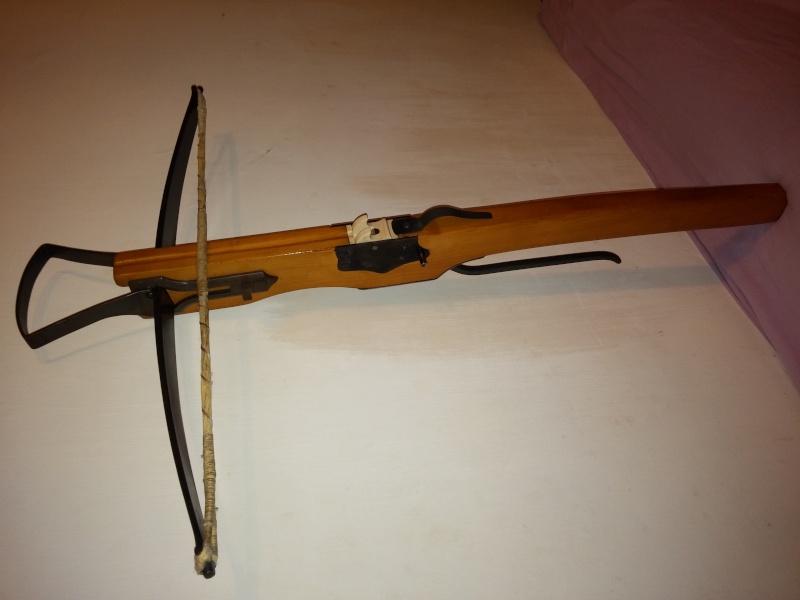
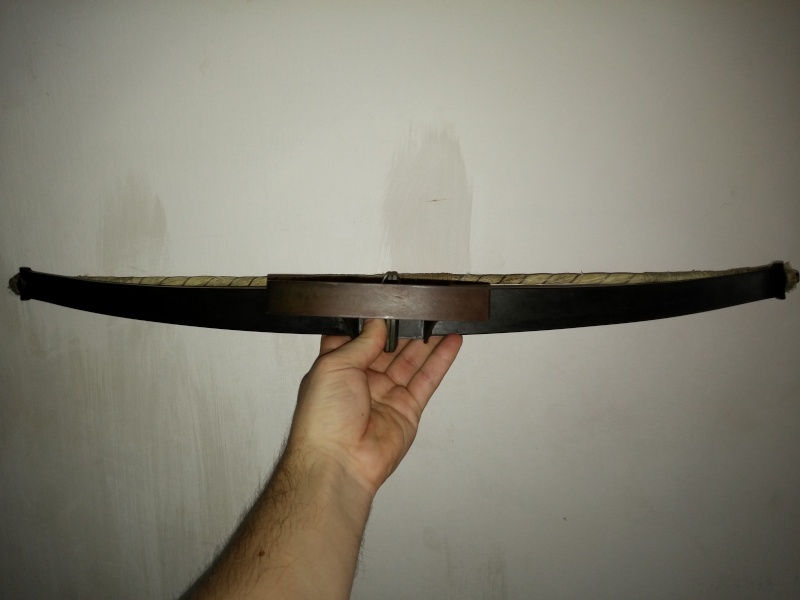
Thank you guys! This is the upgraded version of this
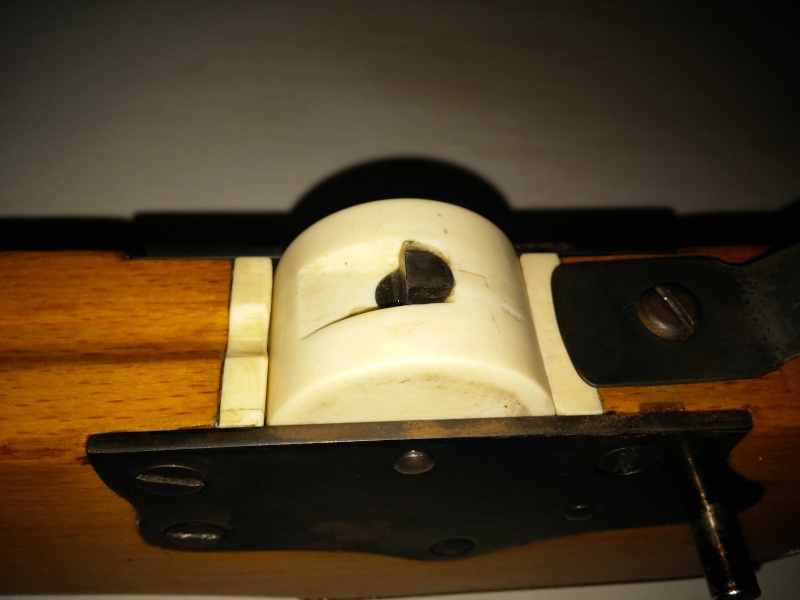
https://thearbalistguild.forumotion.com/t1390-my-homemade-flemish-crossbow The old version had a black delrin nut which I wasnt satisfied with. Besides, the nut was holding only on the axle, there was no socket. Now, I added a socket and made an axle more thin, so that the nut with all its pressure rests entirely againts the socket. The only function of the axle now is to stop the nut from flying off. These new parts are made of material called
elforyn, which I highly reccomend. Its a substitute for ivory, but is also very much looks like antler. I have a piece of real antler and I did a comparison. It also has nice mechanical properties. So for all of you who struggle to find antler big enough, use this or similar material. The white delrin is too damn white, and looks like the inside of refrigerator

In fact I think its the same material ) So obviously its too modern for medieval crossbow...
Second thing is I changed the form of a trigger so that it became more "historical accurate" and pretty )
I will soon complete my quiver and post the pictures of entire set: crossbow, gafa and quiver with bolts )
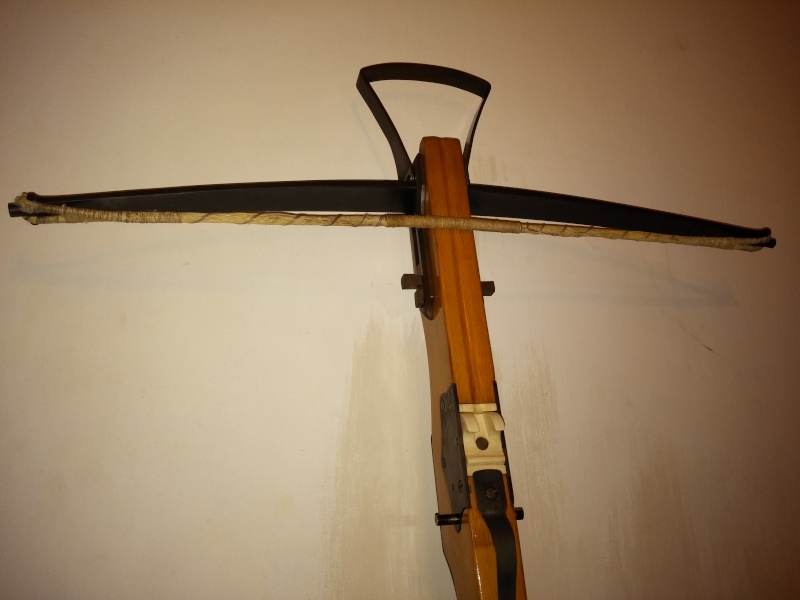
Your bowstring is getting a bit long and I see you've got a lot of twist
Thanks for an advice, but I think thats not the case (maybe the photo illusion). The bowstring is tight just as it has been, when I first installed it. And there is a very slight twist, that occured accidently during installation of the string on bow. By the way, I found out that the best way to make bowstring is to:
1. Bend the bow a bit using some mechanical device
2. Wrap the thread of string around bow's "ears" as many times as needed to achieve desired thickness.
3. Make the 2 protective wrappings in the center of the string. Then simply shift by rotation the whole string so that the wrappings will be on bow's edges, or "ears".
4. You can release the bow now, it will tighten the string and nicely distribute the threads inside.
5. Make additional wrapping in the center, now binding together all 2 streams of string. This central wrapping will protect bowstring from the nut and bolt.
So you basically make your bowstring right on the bow. This way you absolutely dont have to worry about miscalculating the proper lenght of your bowstring, and whoever dealt with this stuff knows that its a problem...
P.S.
Although my native language is russian, I do hope you will understand and it will be useful to someone


 " />
" /> " />
" />
 Private messages