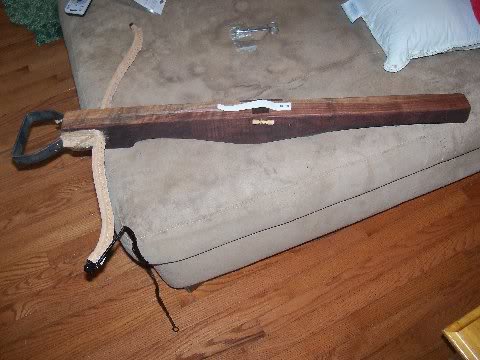
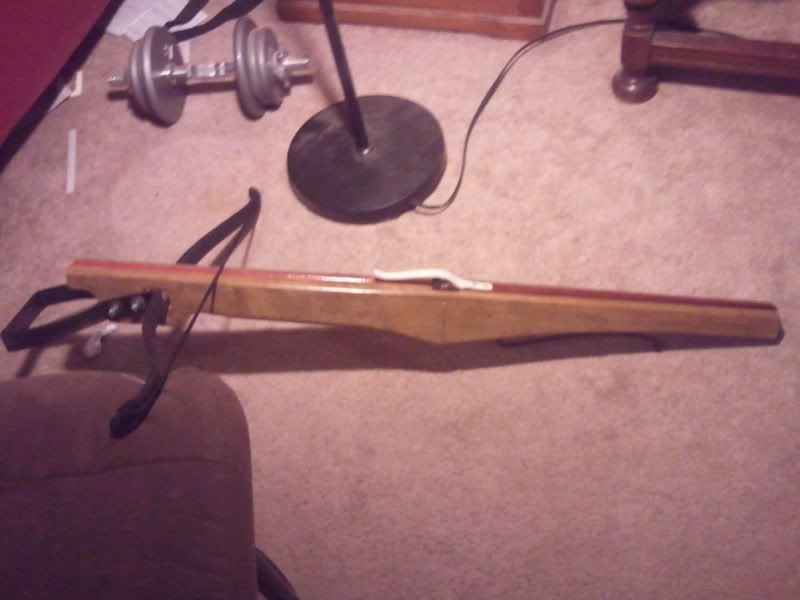
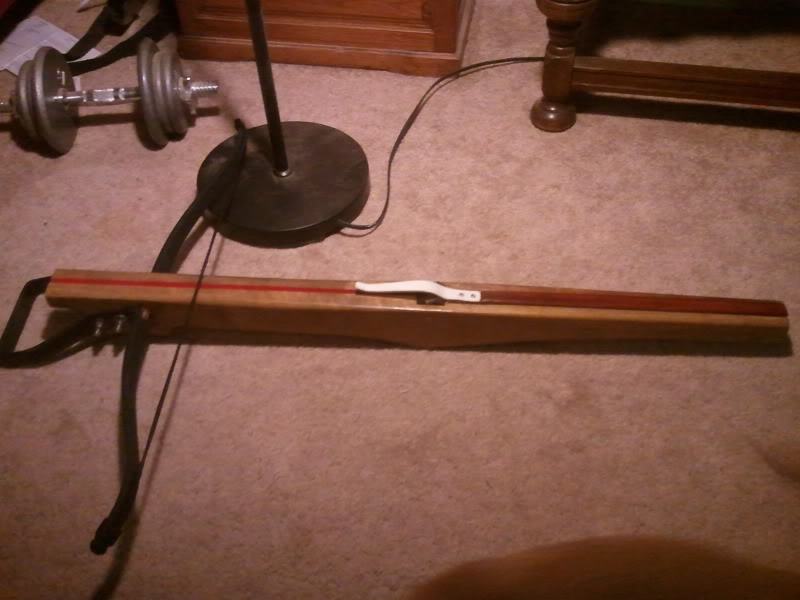
I spent a few hours over three days building and finishing the kit. Now I could have spent a lot longer, making a fancier crossbow, but I opted for a straight-forward military look.
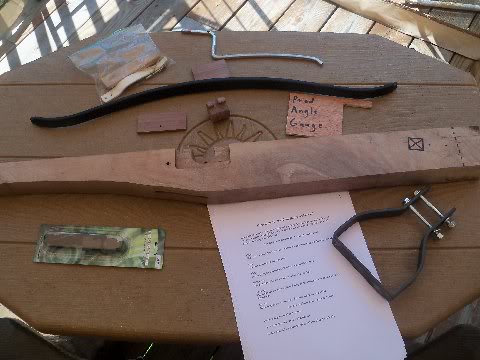
The kit is simple. It contains these parts:
A stock blank. Mine was walnut, a fine piece of wood.
A fiberglass bow in the 150# range. This is a Taiwanese bow commonly sold on the Net. It's the only 'modern' part. It came with the maker's tip protectors and bowstring.
A steel tickler. Hand-shaped, in the white.
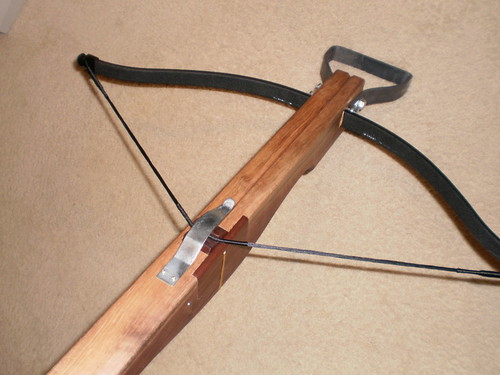
A roller nut. Also walnut, with a thick steel insert to bear the pressure of the string against the tickler.
A walnut sideplate, to cover the slot made to hold the nut.
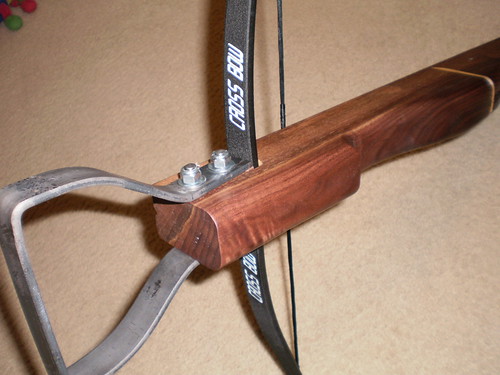
A steel stirrup. This attaches to the tiller by two hex head bolts with nylon lock-nuts (no wait, that's some more 'modern' parts).
A couple of walnut wedges, a spring steel bolt clip. a few small screws, twine, etc.
My stock was already drilled and had the hole cut for the bow. A strip of leather was glued inside to cushion the bow once mounted.
All the parts were well chosen, well made, and sensible. Although Todd included an angle gauge to help locate the mounting hole, my kit was pre-cut.
90 percent of the work involves finishing the stock/ tiller. I cheated a bit and took it to a woodworking shop I know and had the corners eased on a table router. The upper surface corners I had just rounded a little. The underside edge were rounded over a full half-inch. Once the stock was prepared, I finished sanding it by hand at home. I used two 3M sponge sanding blocks, (Fine and Medium), and to remove a few band saw cuts on the underside I used 100 grit paper wrapped around a short length of 1 inch dowel. The walnut smoothed out beautifully.
I chose to finish the wood in a mix of old and new methods. I sealed the tiller by brushing on Thompson's Water Seal. This is a thin, volatile liquid rather like kerosene, with wax dissolved in it. It dries quickly, leaving the wood impregnated with waterproof wax. Once the Thompson's was dry, I rubbed in two coats of paste wax. The resulting finish is smooth, hard, and waterproof. It's a matte finish, too, which I like. This is a faster, more foolproof method than using linseed or tung oil, which take a long time to dry and can be sticky even longer.
The bow was easy to mount. I did have to add a wedge of my own to keep the bow tight against the top of the hole in the tiller. Todd's hardwood wedges went in neatly and tightly. With the stirrup in place, the bow isn't going anywhere.
I chose not to finish the metal parts. I left them bright. I wanted the look of a weapon carried in the field, and bluing soon wears off in use. I considered using Belgian Blue or Gun-kote on the metal, but decided to leave the metal in the white. With some wax rubbed on, the steel parts will be fine. The tickler is secured to the stock by a steel taper pin.
I made a bastard string and strung the bow. My initial shots were flubs because my bolts snagged on the fingers of the nut. A little work with some sandpaper wrapped around a slim dowel and the bow works flawlessly. I was worried about having a nut made of wood, but it seems to work fine. Todd faithfully includes sinewy twine to tie the nut in the stock. Again, this works, but I may try to find a pin to hold the nut. My background is with old military rifles, and that wrapped twine just doesn't see like enough. I know it's historic, and I trust Todd's judgment, but I think I'll find a pin.
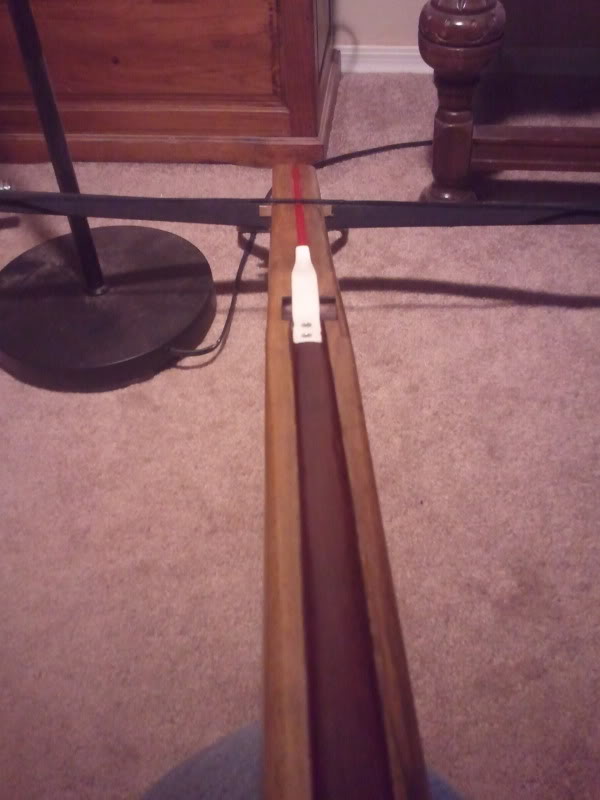
Another feature I'm unsure about is how the nut sits under tension. I thought the rear of the nut ought to be level with the stock, but it isn't. It sticks up about 1/3 inch. The string is held just fine by the fingers on the nut, however.
At plinking range (ten feet), the bow worked perfectly. I was shooting 16 inch aluminum bolts, which are probably a little too long for this bow, but they hit hard. I had to trim one plastic flight from the bolt so the missile would lie the shallow groove. A three-flight bolt won't fit. One of these days I have to make some proper wooden medieval style bolts.
I like the bow a lot. It was simple to build, yet rewarding. It's a quality product. Todd should be proud.
Photos will be posted later.
Paul B. Thompson
Last edited by Ivo on Mon Jul 11, 2011 5:57 pm; edited 1 time in total (Reason for editing : Topic Stickied :))






 Private messages