


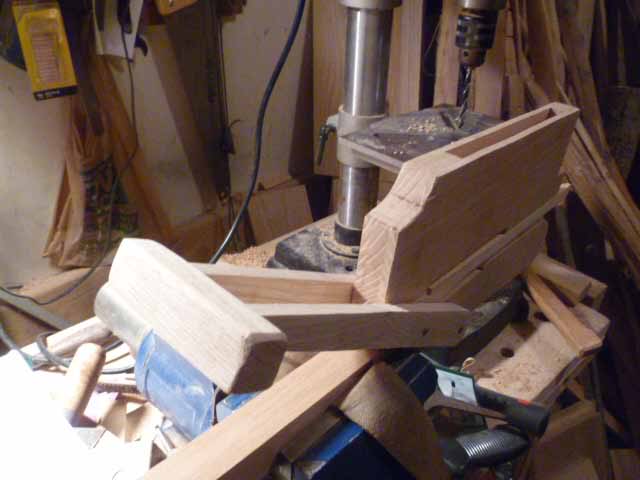
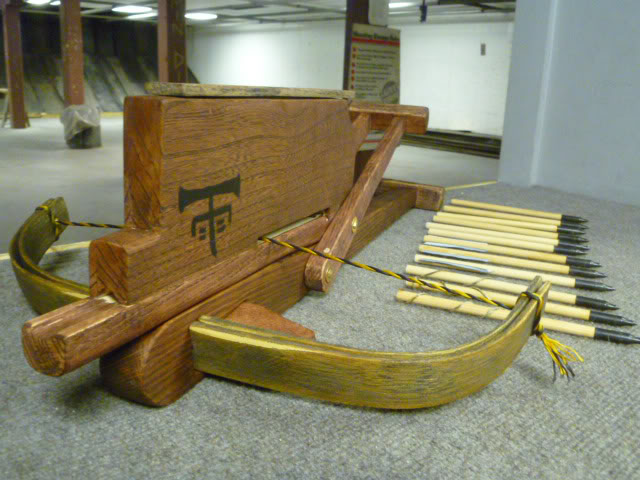
Hi, fellow Guild members. Having always wanted to shoot one of these little weapons, I decided to do a fairly simple project and build a Chu-Ko-Nu, and am writing a how-to article for Primitive Archer magazine.
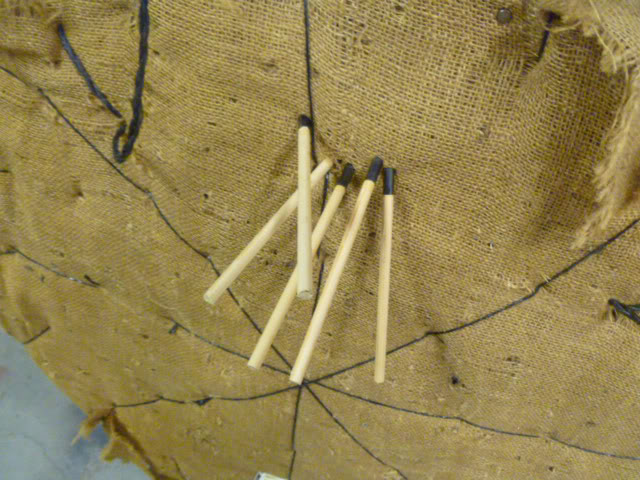
So far, this has been a real pleasure to build. Tuesday some bamboo is coming from a vendor so I can get the bow built and installed, as well as some cedar shafting to make the little bolts. What is neat about this project is that I have been able to use scrap hardwood, so it isn't costing me much. Aside from the bolt materials (already had some field tips sitting around I can use) and two 1/'4" brass threaded machine screws and washers, plus the bamboo slates, there has been no special outlay of money.
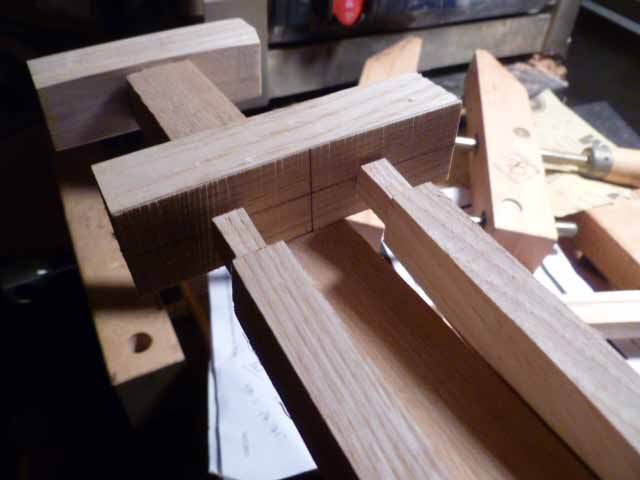
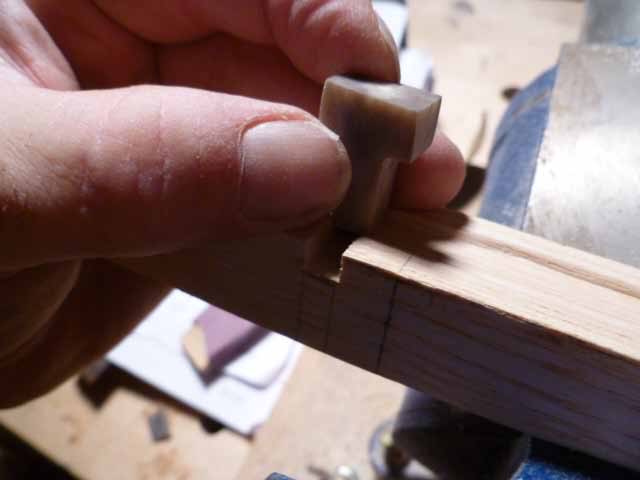
I expect to have this little weapon completed in the coming week or two, and will eventually post more photos and video of the weapon in action. If anyone wants, I can do a quick buildalong. These are just random photos to show various stages of progress.
Dane
]
[IMG]https://2img.net/h/i630.photobucket.com/albums/uu30/Danemitchell/P1010343.jpg
]
]
]
[url=https://thearbalistguild.forumotion.com/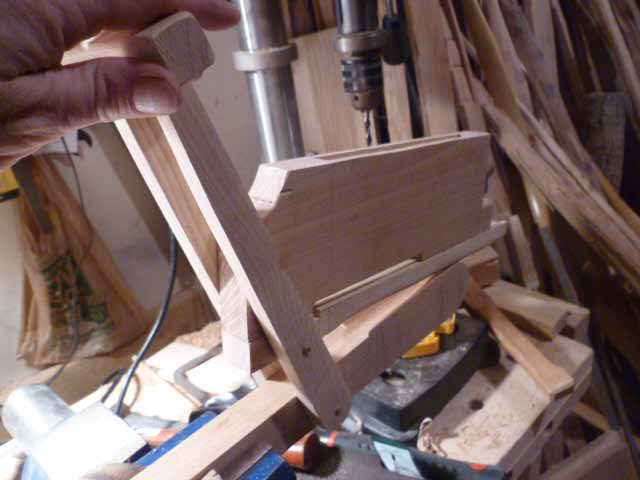 ][/url]
So far, this has been a real pleasure to build. Tuesday some bamboo is coming from a vendor so I can get the bow built and installed, as well as some cedar shafting to make the little bolts. What is neat about this project is that I have been able to use scrap hardwood, so it isn't costing me much. Aside from the bolt materials (already had some field tips sitting around I can use) and two 1/'4" brass threaded machine screws and washers, plus the bamboo slates, there has been no special outlay of money.
I expect to have this little weapon completed in the coming week or two, and will eventually post more photos and video of the weapon in action. If anyone wants, I can do a quick buildalong. These are just random photos to show various stages of progress.
Dane
]
[IMG]https://2img.net/h/i630.photobucket.com/albums/uu30/Danemitchell/P1010343.jpg
]
]
]
[url=https://thearbalistguild.forumotion.com/
][/url]


 Private messages