

Hi, Gang.
Here is my latest, and a sort of quicky project. The main function of this project was to try out some new methods and materials. Sorry about the lousy quality of the photos, and the cluttered background. Clean, but cluttered.
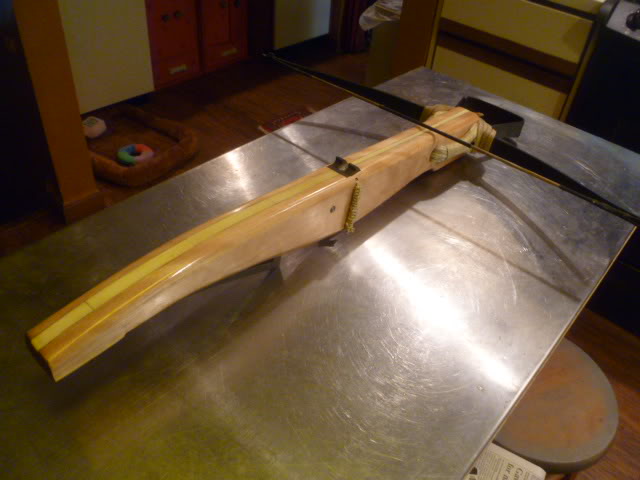
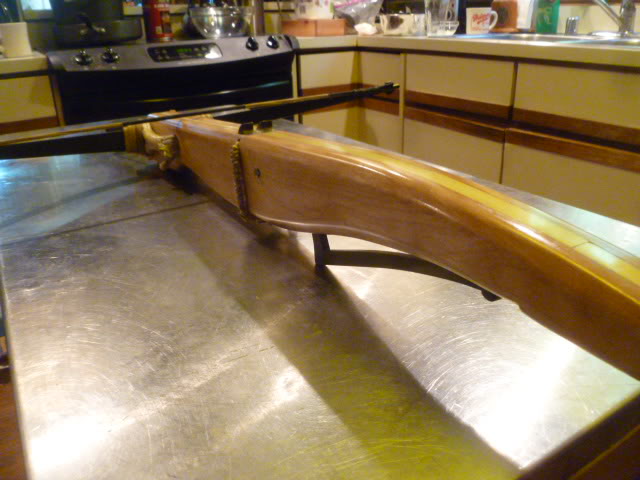
The tiller is made from two 1" flame birch boards. This is probably the last time I will do laminated tiller construction for a while. The nut is black delrin, a new material for me. I turned in a couple of docorative grooves, and used a cat. 8 bolt for the sear. The single biggest thing is that I wanted to rivet in the trigger rather that use threaded rod, and it was really not so difficult. I used mild steel rod from a home improvement store. The hard part is not whacking your tiller. Yes, I did, but pressed on.
The bolt groove is a new approach for me, as well. Notice that there are a few tiny gaps, i.e. not perfect inletting in the bolt groove bone, but I was rushing this, blew it, had to remove the bone inserts I had glued in the first time, and thus....never rush is the lesson, and working when you are tired and should be having a beer is never a good idea.
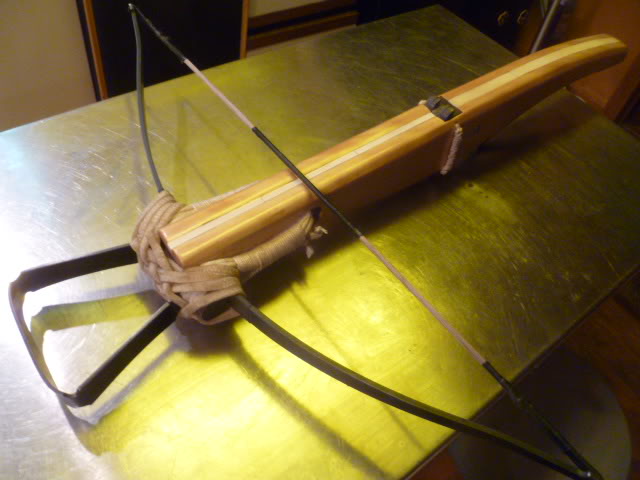
The prod, stirrup and trigger are cannibilized from an earlier project, all made by Alchem. I am not wild about this strirrup, but I had it, and used it. The prod pulls 100#
Another new technique was inletting bone down the lenght of the tiller, and that came out pretty well. I bought a set of Stanley Sweetheart chisels recently, and those tools just rock. I highly recommend them, but they were not cheap, as good tools arent.
I used long strand hemp for the bridle, and also for binding in the nut, kind of in keeping with a few crossbows in the book on the Danish museum collection. I brushed on hide glue this morning. Notice that I used much smaller gauge thread for the wrapping part, and really liked how it came out, rather than one long strand for the binding and the wrapping. Of course, that introduced extra knots.
You will probably notice the string is not touching the tiller surface. I thought that would present problems, but it shoots true. I was nailing a 3D deer each time about about 25 meters. The bolt starts to occillate at about 100 yards, so that is probably an issue I will address later, but at standard crossbow ranges, I am fine with it. The string doesnt jump the bolt, a concern when I started testing.
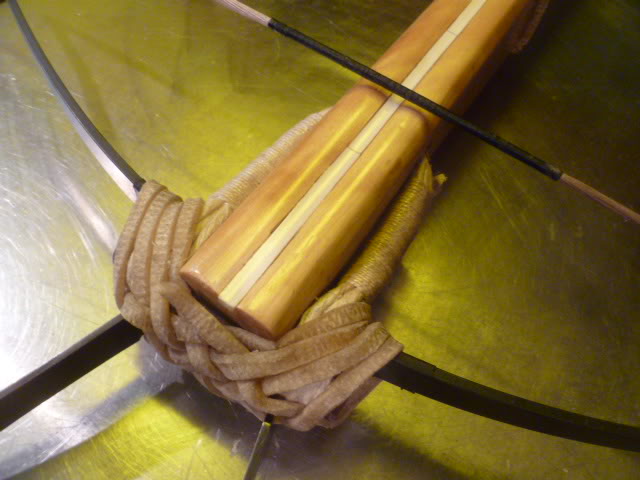
The stirrup is held on by rawhide lacing woven into a basket pattern. This time, I let the rawhide soak for hours, and it was very easy to work with. It is still actually drying, as is the hide glue I brushed on the binding threads. I will apply a little neatsfoot oil once the stuff is totally dried. And the finish on the tiller, btw, is TrueOil, about six coats. I opted for a shiny, bling look, though if you buff it down with steel wool, it gives you nice matt finish, and a very tough finish.
The string is 100 strands of B50. That gives me an approx. 5000# string, which is more than safe enough. Serving material was modern serving thread.
Tomorrow I am attending a large primitive skills gathering in Woodbury, CT. It is a great event I attend each year, and will bring this, the 200# black walnut crossbow, the Chinese repeater, and my Horton 125 scout so I can play Derryl Dixon.
Dane


 ...that's all I got to say.


 Private messages