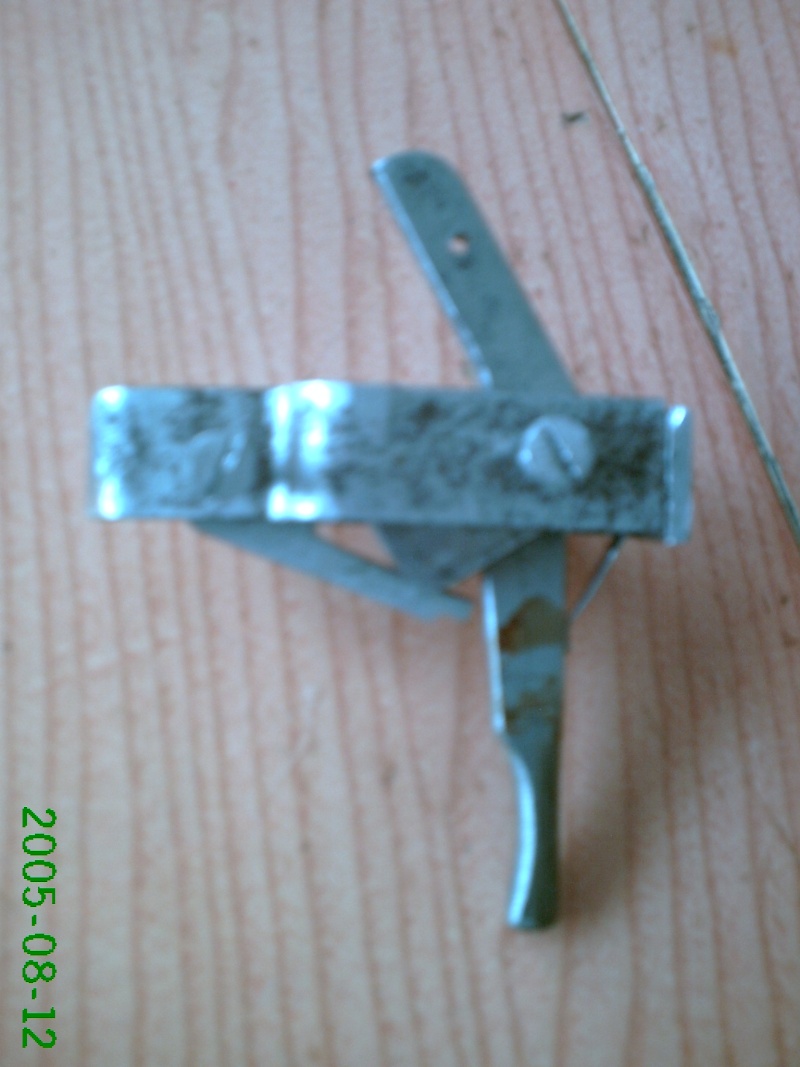
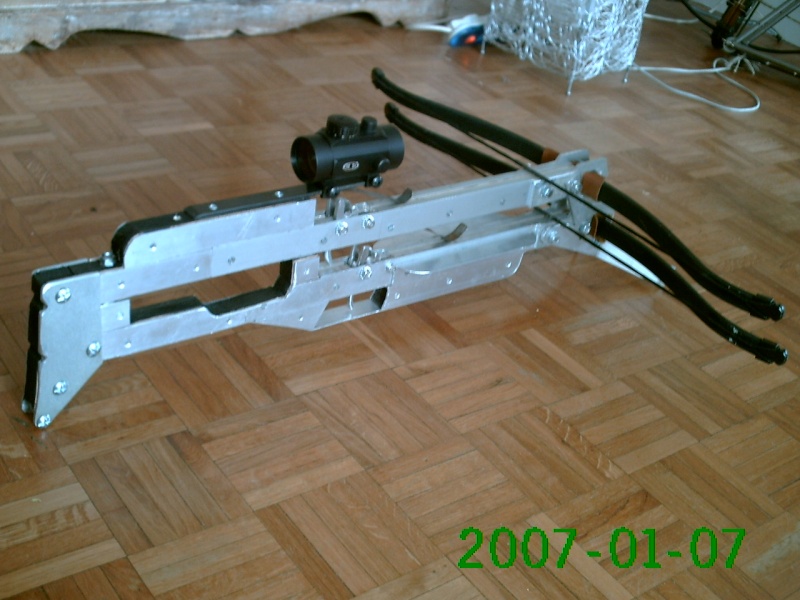
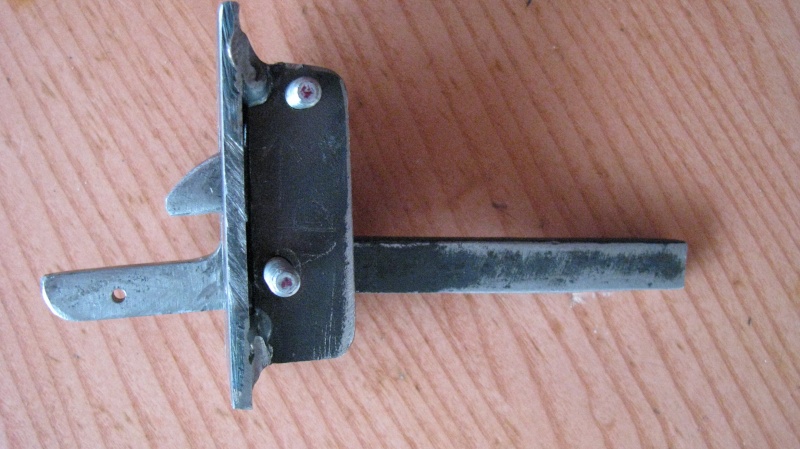
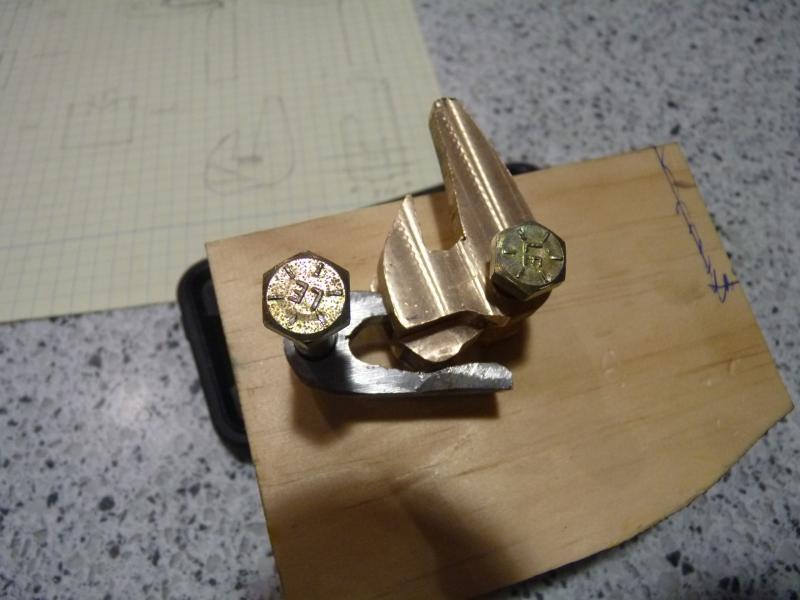
I finished up both the brass Chinese lock and the Delrin nut drop in trigger assembly and got to shoot them so I thought I would share the results so far. Here are the three:
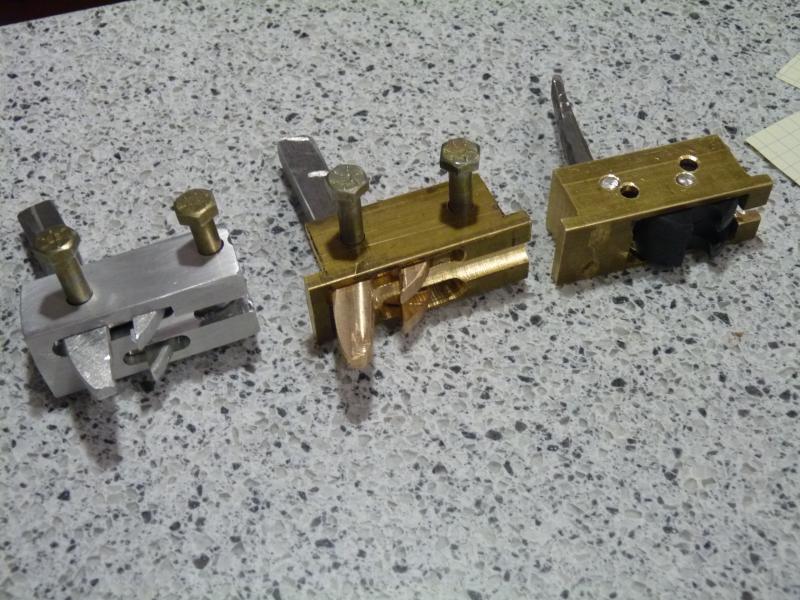
I had to re-drill the through holes for the brass Chinese so I could not go back to the aluminum one but I did make the drop in nut assembly the same size box as the brass so I can go back and forth in the same cheesy test stock and compare. It was interesting and the results were not exactly what I expected.
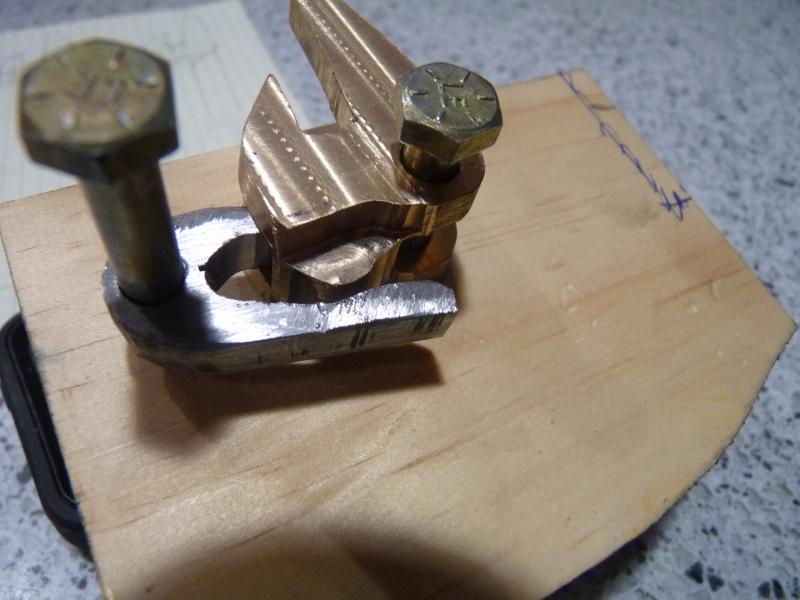
First the brass Chinese. This is the solid one piece claw. It is a pain to machine by hand but seems very strong and it is noticeably slicker than the aluminum one. The trigger pull is actually very light and crisp. It was TOO light at first. It got lighter as the parts smoothed each other out until it reached the point that it would not hold. I locked back the bow string and about 4 seconds later it just let go all by itself and dry fired.

Not at all good on a pine stock! LOL
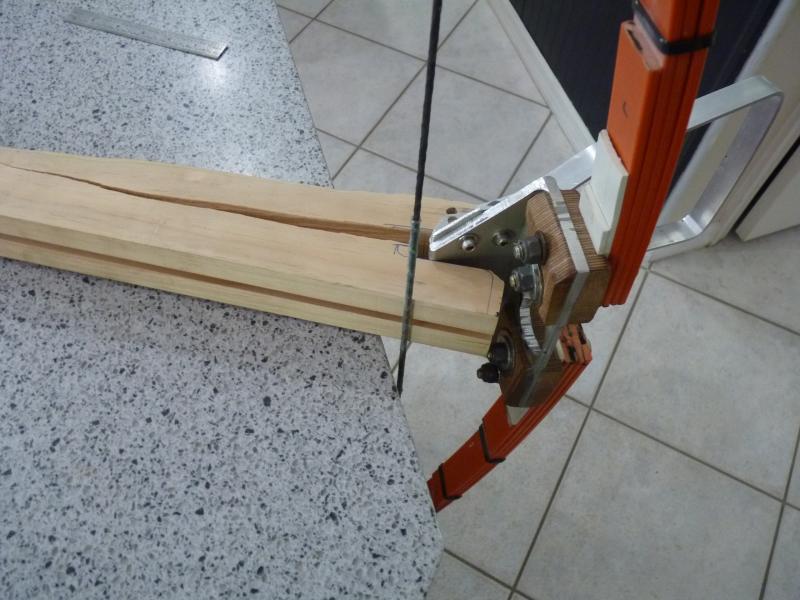
But not a major issue, a little glue over night and it was back in business. And I cut the notch in the trigger deeper and it was better but still light. It might be OK, even good for the experienced folks here but I would not be comfortable giving it to a new person. I may be able to play with the trigger notch and make it stiffer but the notch is very deep now.
I learned that there are few drawbacks to this lock style. First it makes a hell of a loud CLACK when fired because of the metal on metal impact that stops the rotation. It sounds about like some one hit it with a large hammer. Not a deal breaker but a bit annoying. I didn't notice it on the aluminum version, I assume because it is lighter and aluminum deadens the sound. But brass, not so much. . .
Second issue is that because the fork is in the front of the lock and near the top, I can not cut a deep notch for the fletch to clear. I tried it on the aluminum version but it did no good because of the fork. You can what I mean here:
This results in difficulty

This results in difficulty using most of my existing arrows. You can see the issue here:

To get around it, you could 180/90 degree fletch like this:

That is what I did as I happened to have an old bolt of this style in my junk box. Or you could use just two fletch. . .
You could move the fletch forward but that would place them a bit too far from the rear where they would do the most good for my taste. Still I expect it would work.
And the third issue is that I don't see an easy way to add a hold down spring and of course no way if you use the 180/90 degree fletch.
I would love to hear feed back from those of you that have actually used this lock and how you solved or get around these issues.
So next is the roller nut.
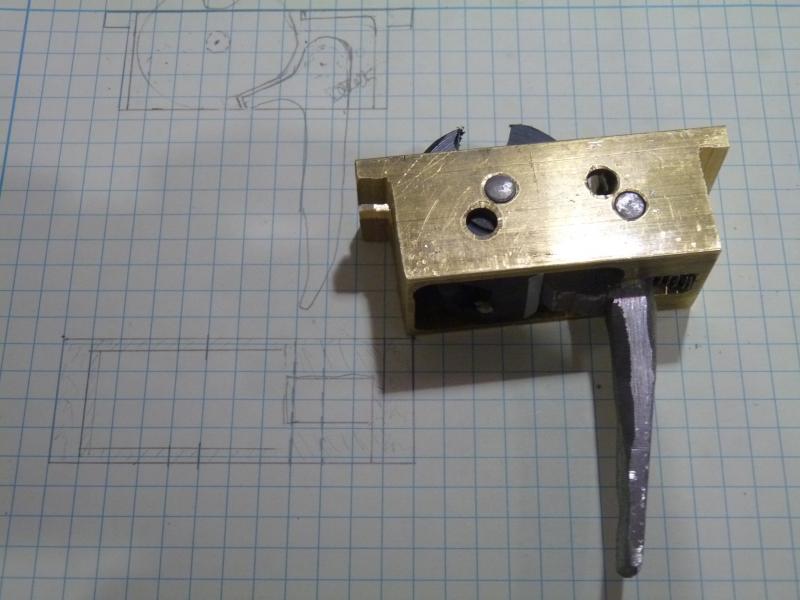
Please ignore the two extra holes. The stupid guy doing the machining got the part in the mil vice backwards the first time and the lazy SOB didn't want to start all over. LOL

Here is what it looks like mounted in the test rig:

The holes in the stock are for the Chinese lock and not used on this one. The pins are flush with the case are captured and held in place by the wood on the sides. The screw in the back is temporary. I have not decided how I want to tie it down yet but the tight inletting takes all the load. I do have a trigger spring in this one but realized that like the Chinese lock, no spring is really needed if the trigger is made "fat". Gravity will push it forward when the bow is being cocked. But I do like the spring because it is more positive.
Shooting this one is different than the Chinese as expected. The trigger pull is a bit stiff but is very crisp. This is with a 95 LB bow so it could be more of an issue with a heaver bow. I am sure some tuning could get it lighter but for something to sell that is aimed in large part at the new builder, I want it on the stiff side. I would not want it too light for sure. It does make some noise also but nothing like the Chinese. The nut will spin about a second or two after the shot if the trigger is held back, causing a slight buzz due to the imbalance. But to me it is not at all objectionable. The most annoying thing about this lock is that I have to rotate the nut to the pre-cock position by hand every time. I often forget until I have the string pulled back and have to let down and start over.

Just a learning process and it is no different than the Xbow I made years ago.
All in all this one is much nicer to shoot and has no issues with cutting a slot for the fletch so all my old arrows worked.
So I was expecting to like the Chinese lock a lot better and it is a very interesting and cool looking lock but in actually shooting, I enjoyed the roller nut style a lot more. It should also be cheaper to produce. The same basic lock can use the long tickler style trigger for traditional style bows. So I will start on this one first.
As a side note, these locks both work and are fun to shoot but very crude compared to my other design, the hammer lock.
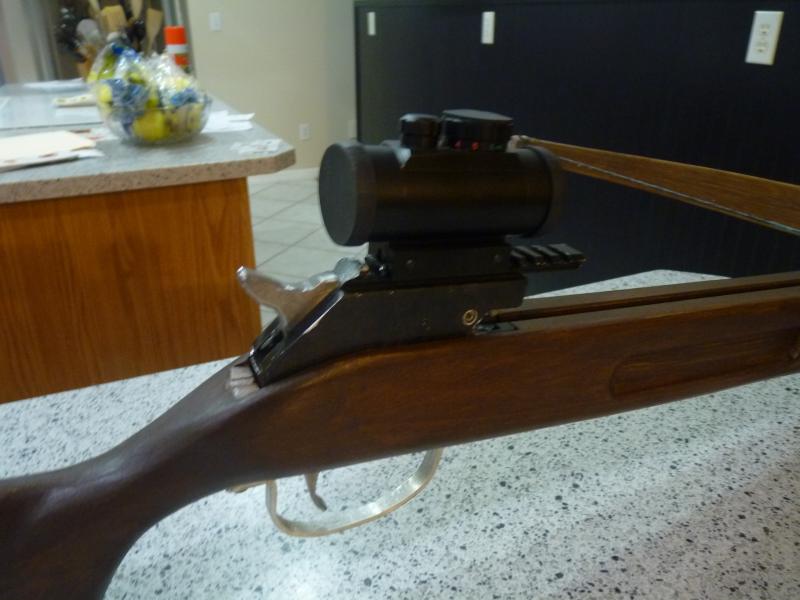
My son is working on getting this in to production now but it will take some time.
On a scale of 1 to 10 I would rate them like this.
Hammer lock - 10
Roller lock - 7
Chinese Lock -5
But this is a personal preference thing and as always YMMV.
Please let me know your thought.
Thanks,
John
P.S. I am leaving a week from today on a coast to coast and back motorcycle trip and will not be able to play with these toys for 6 to 8 weeks.

But I will be online.







 Private messages